Do it yourself · with what you have at home
Make your own emergency ID at home
You don’t need to buy a special bracelet to make your emergency information easy to find. With a free QR code, a sheet of paper and some clear tape, you can make a wristband, a wallet card or a sticker in a few minutes, and make a new one whenever things change.
Make your free QR code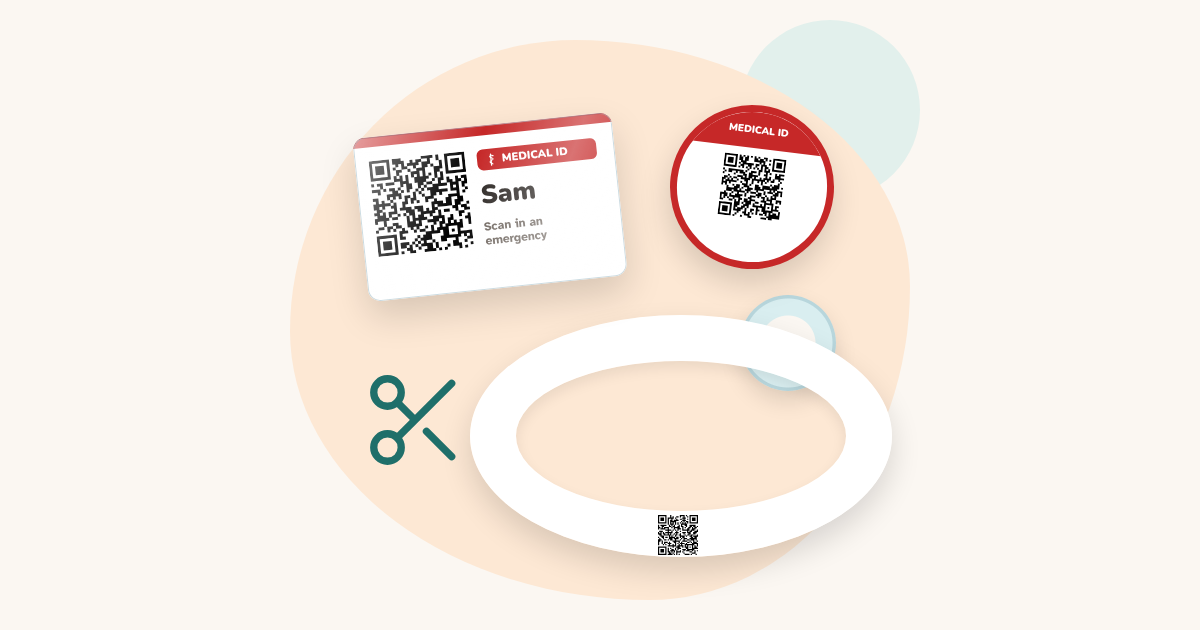
Five steps, whatever you make
- Make your emergency ID: contacts, health information and first-aid steps. It takes about three minutes, with no account.
- Get your QR code. Everything is inside the code: nothing is stored online.
- Print it on plain paper, thick paper or sticker paper, depending on what you make.
- Make the item: a paper wristband, a wallet card or a sticker, as explained below.
- Test it: scan it with another phone and check every detail before you rely on it.
A paper wristband
For a day out, a school trip, a festival or a race. About 10 minutes.
- You need: thick paper if you have it (160 to 200 g/m²), scissors, clear tape or glue.
- Print the ready-made wristband from the create page: it has the code, a glue tab and a “Cut to size” end.
- Wrap it around the wrist with the code on top, cut off the extra length and close it with tape. Leave room for a finger: it must never be tight.
- Cover the code with a strip of clear tape so it copes a little better with sweat and drizzle. Matte tape reflects less light.
- Check: the code is curved on a wrist, so make sure it scans while it is worn.
Paper lasts a day or two. For every day, choose a card, a sticker or a bracelet you already own.
A wallet card
For every day, in a wallet, a phone case or a bag. About 10 minutes.
- You need: paper or thin card, scissors, wide clear tape, or a laminating pouch if you have one.
- Print the wallet card from the create page (the main “Print” button), or a condition card from the printables, and cut along the border.
- Cover both sides with clear tape, going a few millimetres past the edges so water can’t get in.
- Keep it in the same place every day, and tell your family where it is.
A sticker
For things that go everywhere with you: a phone case, a school bag, a water bottle, a helmet, a wheelchair. About 5 minutes.
- You need: sticker paper, or plain paper and clear tape.
- Print the sticker from the create page, cut it out and stick it on a flat, clean surface.
- On plain paper, cover the whole sticker with clear tape, a little past the edges.
- Check: replace it when the code gets scratched or the paper starts to lift.
No printer?
A QR code can’t be drawn by hand, but there are still simple options.
- Put the code on your phone’s lock screen: anyone helping can see it without unlocking the phone. No printer needed.
- Print it at a library, a copy shop or a print kiosk. Save the page as a PDF first, so there is only one file to send.
- Ask a family member, a friend or your school to print it for you.
- Write the essentials by hand on a keyring tag, a luggage label or a watch strap: your main condition, “ICE” and a phone number, for example “EPILEPSY · ICE +44 7700 900123”.
- Fill in your phone’s own emergency information as well.
Make it last
- Keep the code flat and clean, with nothing shiny, folded or written over it.
- Test it again every few months, and after it gets wet.
- When your details change, make a new code and destroy the old item: a code holds the details as they were when you made it.
- Homemade items are not waterproof or unbreakable. Look at them often and replace them when they wear.
A choice, not a second best
A homemade ID carries the same information as one you could buy, and the QR code works the same way. You can remake it for free whenever you like, and combine it with a bracelet or a tag you already own.
Questions
Can I make a medical ID bracelet myself?
Yes. Make a free QR code, print the paper wristband on thick paper and close it with tape. For every day, a wallet card or a sticker lasts longer than paper.
What should I write on a homemade emergency ID?
What a stranger needs at a glance: your main condition, “ICE” and a phone number. The QR code adds the rest: contacts, medicines, allergies and first-aid steps.
How do I make it waterproof?
Cover it on both sides with wide clear tape, or use a laminating pouch. It will cope with rain and splashes, but not with swimming or the washing machine: replace it if it gets soaked.
Is a homemade emergency ID as good as one you buy?
It carries the same information and the QR code works the same way. It is less durable, so check it regularly and replace it when it wears.
I don’t have a printer. What can I do?
Use your phone’s lock screen, print at a library or a copy shop, or ask someone to print it for you. You can also write your condition, “ICE” and a phone number by hand on a tag.
Related pages
More practical guides
Published 8 November 2026